An awkward yard—too narrow, too sloped, oddly shaped, or split into disconnected pockets—can feel like a lost cause rather than a place to relax. But nearly every difficult lot has hidden potential once you understand its actual limitations and opportunities. Instead of letting that space sit unused, you can approach it methodically, tackling grading, layout, plantings, and hardscaping one step at a time. This guide walks through the practical decisions homeowners face when transforming a tricky yard into a functional, welcoming outdoor living space.
Assess the Shape and Slope of Your Lot
Before you spend a dollar on materials, walk your property at different times of day and after a rainstorm to understand how water moves and where sun and shade fall. Take note of narrow side yards, steep drop-offs, or awkward corners that seem impossible to use. Many homeowners find that consulting with landscape designers early in the process saves money later, since they can spot drainage issues or structural constraints that aren’t obvious to an untrained eye.
A professional assessment also helps you prioritize which problem areas need the most attention first. Some slopes are better suited to terracing, while oddly shaped corners might become a fire pit nook or a small garden shed pad. Getting this evaluation right shapes every decision that follows.

Create a Cohesive Plan Before You Dig
One of the biggest mistakes homeowners make with a tricky yard is tackling projects piecemeal, without a unifying plan. A cohesive backyard design ties together your patio, plantings, seating areas, and pathways so the finished space feels intentional rather than patched together. Sketch zones for dining, lounging, and play before committing to any construction.
Think about how each zone connects to the next, especially if your yard has multiple levels or awkward transitions. A well-thought-out plan accounts for sightlines from your kitchen or living room windows, foot traffic patterns, and future additions like a garden bed or storage shed.
- Map sun and shade patterns across the seasons
- Identify at least two or three functional zones you want
- Note existing trees or structures you want to keep
- Consider how water drains through each section
- Leave room in the plan for future changes
Bring In Professional Help for Complex Layouts
Some awkward yards, particularly those with steep grades, poor drainage, or unusual property lines, benefit from professional landscaping services rather than a strictly do-it-yourself approach. Slopes greater than 10 to 15 percent, for instance, often require engineered retaining walls to prevent soil movement, and building those correctly involves calculations for wall height, drainage backfill, and load-bearing footings that go well beyond a weekend project.
Contractors who specialize in difficult terrain can install retaining walls, regrade slopes safely, and correct drainage problems that would otherwise undermine any future plantings or hardscaping. Many will also install French drains, dry wells, or catch basins to redirect water away from your foundation and low-lying areas of the yard. Some jurisdictions require permits for retaining walls above a certain height or for grading changes that affect neighboring properties, so a professional can help you navigate those regulations too.
This is especially true if your yard has erosion issues or standing water after rain, since these problems tend to worsen over time and can damage patios, decks, or plantings installed on top of them. A landscape architect or design-build firm can also assess unusual property lines or easements before construction begins, helping you avoid costly disputes or rework. Investing in this expertise upfront often costs less than repairing a failed DIY project later.
Working with a team also means you get access to equipment and techniques that aren’t practical for a weekend project, like laser-guided grading, soil compaction testing, or drainage mapping that shows exactly how water moves through your yard during a storm. Professionals can also pull utility locates before digging, so you’re not the homeowner who accidentally nicks a gas line while installing a fire pit.
That expertise often pays for itself by preventing costly repairs down the line. A patio poured over an improperly compacted base can crack within a year or two, turning a $3,000 project into a $3,000 project you now have to redo. Retaining walls are another common failure point — without proper drainage behind them, hydrostatic pressure can cause a wall to bow or collapse within a few seasons.
A good contractor will also help you sequence the work correctly, which matters more than most homeowners expect. Grading and drainage should typically be addressed before you install pavers, plantings, or structures on top of them, since redoing groundwork after the fact usually means tearing out finished features. Getting that order right the first time is often the difference between a yard that holds up for decades and one that needs constant patchwork.
Choose Materials That Suit Your Yard’s Challenges
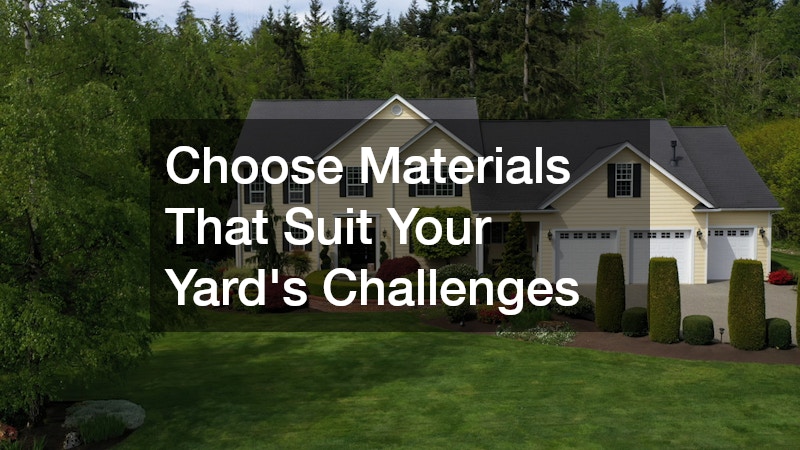
Not every material works well on a tricky lot, and choosing the wrong one can make an awkward space look even more disjointed. A good landscaping supply source can help you compare pavers, gravel, mulch, and edging options suited to slopes, shade, or heavy foot traffic. Porous materials, for instance, handle drainage-prone areas better than solid concrete slabs.
Local suppliers also tend to know which products perform well in your specific climate and soil type, which matters more than most homeowners realize. A material that looks great in a showroom might crack, shift, or fade quickly if it’s not suited to your region’s freeze-thaw cycles or rainfall patterns.
- Permeable pavers for drainage-challenged zones
- Gravel or decomposed granite for informal paths
- Composite decking for damp or shaded areas
- Natural stone for a higher-end, durable look
- Mulch or bark for erosion control on slopes
Install a Reliable Watering System for New Plantings
Awkward yards often have inconsistent watering needs, with dry sunny patches next to shaded, damp corners, plus odd angles and narrow strips that don’t fit a standard grid of sprinkler heads. A properly designed lawn irrigation installation accounts for these variations by zoning your sprinkler or drip lines according to sun exposure, soil type, and plant water needs. Each zone runs on its own valve and schedule, so a sun-baked side yard can water longer and more frequently than a shaded bed nearby.
For new plantings, drip irrigation is often the better choice over spray heads, since it delivers water slowly and directly to the root zone rather than misting foliage and pathways. Sandy soil drains fast and may need shorter, more frequent cycles, while clay-heavy soil holds moisture longer and is prone to runoff if watered too quickly. A good installer will also factor in slope, since sloped beds often need multiple short cycles to let water soak in rather than one long soak that just runs off.
This zoned approach prevents the common problem of overwatering shade-loving plants while underwatering thirsty grass nearby. Adding a smart controller or rain sensor to the system further fine-tunes watering by adjusting run times based on recent rainfall and seasonal changes, which saves water and keeps new plantings from getting stressed while their roots establish.
Newly installed plants need consistent moisture while their root systems establish, and hand-watering rarely delivers the steady schedule they require. Smart irrigation controllers have made this even easier, letting you adjust watering times remotely, set seasonal schedules, and even pull local weather data to skip cycles after a rainfall. Many models can cut water use by 20-30% compared to a standard timer, which adds up quickly on a monthly water bill.
If your yard includes raised beds, hanging baskets, or a vegetable garden, drip irrigation zones can be added separately from your turf system for more precise control. Drip lines deliver water slowly and directly to the root zone, reducing evaporation and keeping foliage dry to help prevent disease. For containers and hanging baskets, look for pressure-compensating emitters, which ensure even flow whether a pot sits at the start or end of the line.
When planning zones, group plants with similar watering needs together rather than mixing drought-tolerant shrubs with thirsty annuals on the same valve. It’s also worth installing a simple rain sensor or soil moisture gauge as a backup, especially in the first season when new plantings are most vulnerable to under- or over-watering.
Define Boundaries with the Right Fence
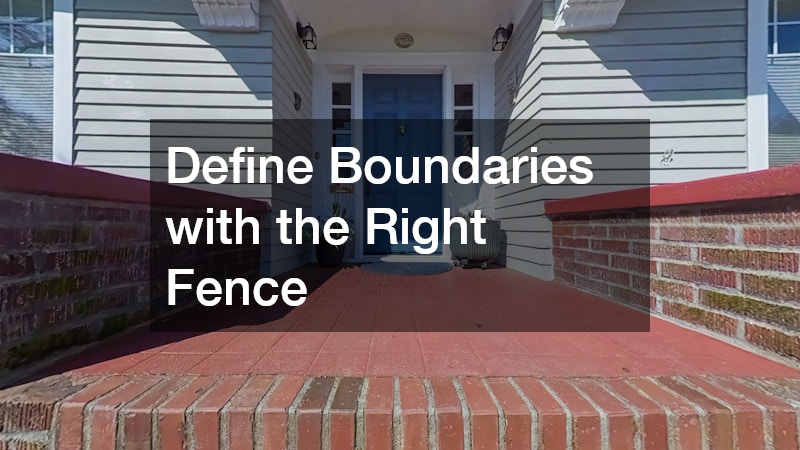
Fencing does double duty on awkward lots, both defining property lines and visually organizing a space that might otherwise feel scattered. A thoughtful fence installation can also solve privacy issues on narrow lots or screen an unattractive view, like a neighbor’s shed or a utility easement. Height, material, and spacing all affect how much light and airflow reach your yard, which matters for plant health.
Consider how the fence interacts with your overall layout before finalizing the design. A solid privacy fence might work well along a property line but feel too heavy around a garden area, where a lower picket or lattice style allows more visibility and breeze.
- Solid panel fencing for maximum privacy
- Lattice or picket styles for garden borders
- Chain link with vine plantings for budget-friendly screening
- Horizontal slat designs for a modern look
- Mixed materials to match different zones
Build a Deck or Patio That Fits the Terrain
Elevation changes are one of the most common challenges on awkward lots, and a well-planned deck can turn a steep or uneven area into usable square footage. Multi-level decks work particularly well on sloped yards, creating distinct zones for dining and lounging without requiring extensive regrading. Railings, built-in seating, and lighting can all be incorporated to make the space feel finished.
For flatter sections, patio construction offers a durable, low-maintenance alternative to decking, especially in yards with good drainage. Concrete, pavers, or natural stone patios can be shaped to fit irregular boundaries in ways that a rectangular deck sometimes can’t, which makes them a strong option for oddly angled lots.
Refresh an Existing Deck Before Building New
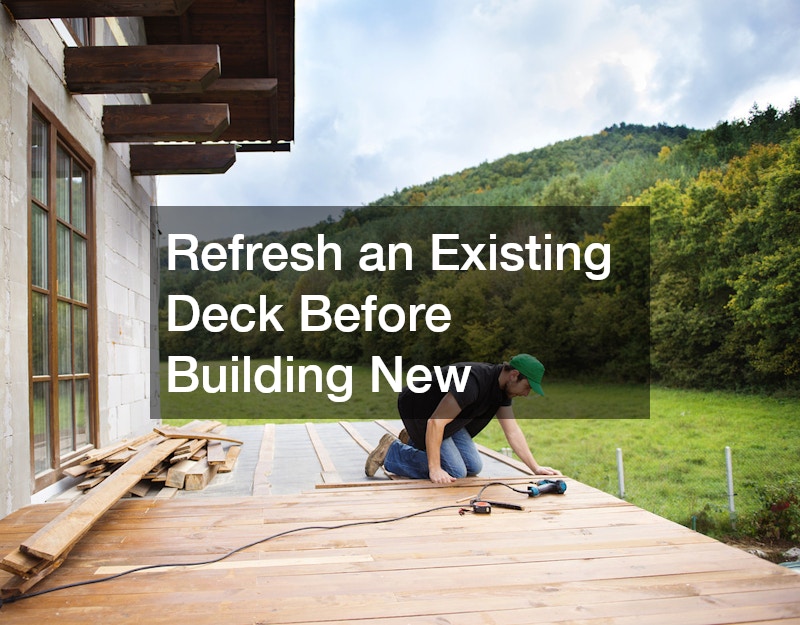
If your yard already has a deck but it looks tired or mismatched with your new plans, a fresh coat of paint or stain might solve the problem without a full rebuild. Before assuming the worst, check the structural basics: solid joists, secure railings, and boards that don’t flex or crumble underfoot usually mean the deck is a good candidate for a cosmetic refresh rather than a teardown.
Professional deck painting can restore faded wood, cover old stains, and protect the surface from moisture damage that’s common in shaded or poorly drained yards. A quality solid-color stain or paint also fills small surface cracks and hides mismatched repairs from past patch jobs, giving the whole structure a more unified look. For decks that see heavy shade or sit near sprinklers, a mildew-resistant, moisture-blocking product is worth the small upcharge since it slows rot and graying.
This is often a fraction of the cost of replacing the structure entirely — typically a few hundred to around a thousand dollars for professional painting versus several thousand for a full rebuild, depending on square footage. It’s also a much faster project, often completed in a day or two rather than the week or more a new build can take, letting you get back to enjoying the space sooner.
Before painting, inspect your deck for structural issues like soft boards, loose railings, or signs of rot, since cosmetic work won’t fix underlying damage. Grab a screwdriver and probe the wood; if it sinks in easily or feels spongy, that board needs replacing, not just a fresh coat of paint. Check joist hangers, ledger boards, and support posts for rust or separation, and give the railings a firm shake to make sure they’re securely anchored.
Once you’ve confirmed the frame is sound, look at fasteners too. Popped nails or corroded screws are an easy fix now, but ignoring them lets moisture in and accelerates rot later.
With the structure solid, choosing a color that complements your house and new landscaping ties the whole yard together visually. Semi-transparent stains let the wood grain show through while still offering UV protection, whereas solid stains behave more like paint and better hide older, weathered boards. Pulling a color from your home’s trim or siding, or coordinating with plants and outdoor furniture, helps the deck feel like an intentional extension of the yard rather than an afterthought.
Establish Healthy Turf Where Grass Struggles
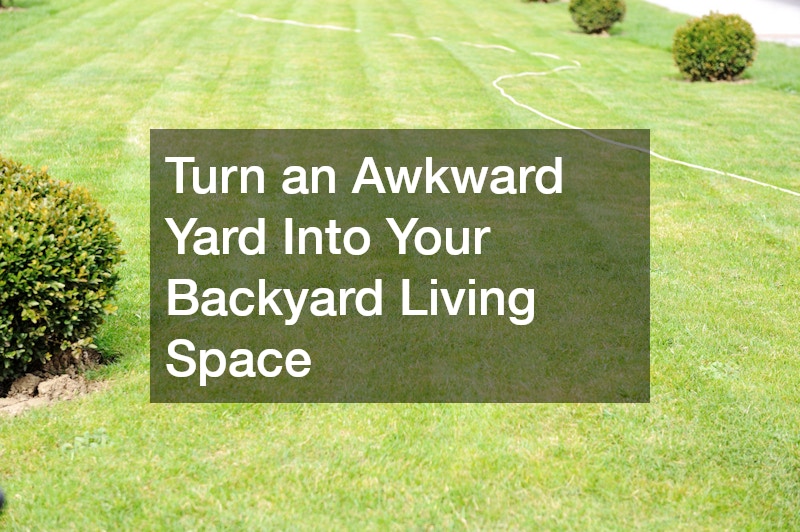
Awkward yards frequently have patchy, uneven lawns because of shade, soil compaction, or leftover construction debris from a previous renovation. Rather than fighting with seed that won’t take, many homeowners opt for sod installation to get an instant, even lawn in problem areas. Sod also helps control erosion on slopes while your other landscaping matures.
For yards where the existing grass is beyond patching, a full lawn renovation may be the more practical route, addressing soil quality, drainage, and grading before any new turf goes down. This deeper approach costs more upfront but tends to last significantly longer than a quick patch job, especially in yards with a history of drainage or compaction problems.
- Test soil pH and drainage before renovating
- Remove thatch and debris from the old lawn
- Regrade low spots that collect standing water
- Choose sod varieties suited to your sun exposure
- Water new sod consistently for the first few weeks
Turning an awkward yard into a genuine outdoor living space rarely happens overnight, but breaking the project into manageable stages makes it far less overwhelming. Start with an honest assessment of your lot’s challenges, build a plan that accounts for them, and tackle drainage, hardscaping, and plantings in a logical order. Whether you handle projects yourself or bring in professional help for the trickier parts, the payoff is a yard that finally works for the way you actually want to live outdoors.